


School is starting up and that means fall sports are here. What do you need to capture the action? Yes,equipment is important, but anticipating the action and knowing the game will go a long way to getting “the shot”. Here are 10 tips to help you out:
1. Know your equipment. When you are in the middle of the action, you don’t have time to look up “how to change your shutter speed” or other functions. Go out and practice, shoot when there isn’t much action happening and change your settings. This will help so when it’s game night, your camera settings are second nature.

2. Know the game you are shooting. This will help you anticipate what might happen next so you can focus on the right player. This will also help you be in the right spots. To put it simple, you want to be where the players are running instead of shooting them from behind.
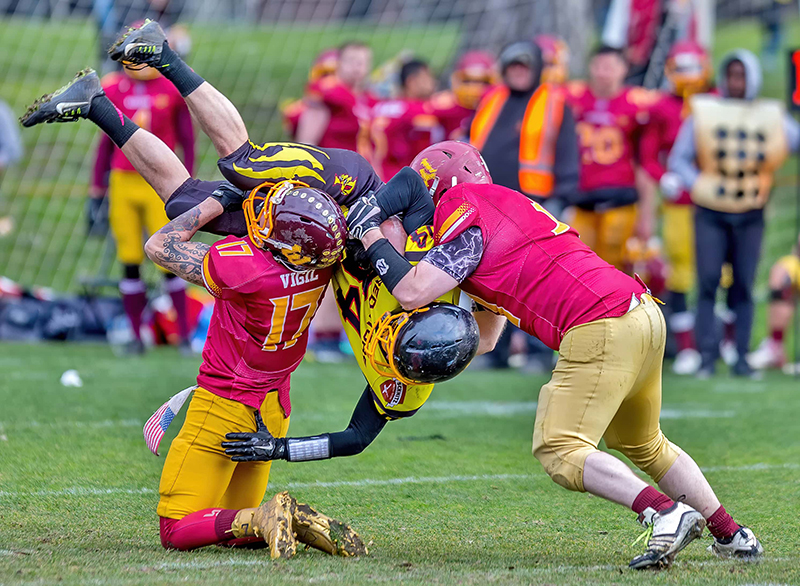
3. Settings. Learn about exposure so you know which settings are best to change and why. Sports are fast action and you probably want sharp, in focus images so you will need to use a fast shutter speed, probably between 1/500s to 1/2000s, depending on the sport. Shutter speed freezes action, f-stop or aperture controls depth of field, and ISO controls the quality of your image. Of these three functions, shutter speed is the most important for sports followed by ISO, and lastly, the aperture.
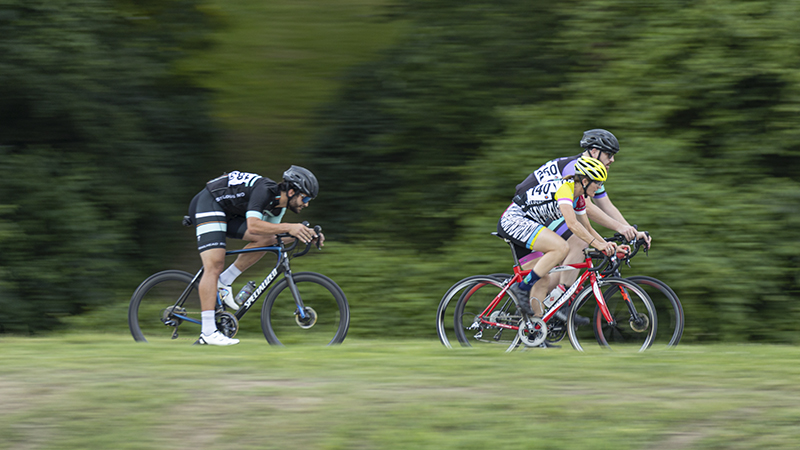
4. Have the right lenses with you. Most field sports you will want at least a 70-200mm (the 150-600mm is nice to have, just make sure you have a monopod to help hold it up). While with indoor sports you may want a shorter focal length like a 24-70mm or 24-105mm. But in either case, you will want a fast lens. By fast lens, we are talking about the minimum f-stop. An f/2.8 is best if you can get it. A f/2.8 will allow you to shoot at higher shutter speeds without cranking your ISO. Higher ISO will give you more digital noise and not look as sharp. Longer lenses like the 150-600mm are not offered with a f/2.8, they are more like f/5.6 and slower. It’s often worth losing the faster lens for a lens with greater reach. If you don’t have it, rent it from us at: schillers.com/rental-equipment

5. Shoot with a wide-angle lens sometimes. This can add interest and capture more of the “whole” game. Capturing the players interacting with each other and the ball will tell a fuller story. These last two tips go with knowing when to upgrade your equipment. Be it a new lens or camera body. If you have a starter camera, you will run into it’s limits and will know when it’s time to upgrade. Shooting with a camera with subject tracking autofocus is great but probably overwhelming at first. Start simple then upgrading when you can’t get more out of your current gear is a natural way to learn. If you are getting frustrated with your gear, talk with a friendly staff member and we can help you determine if it’s time to upgrade.

6. Pay attention to the action. You want to be ready when the action is happening. You will also want to keep yourself and others safe. A stray ball or a running back can do a lot of damage if you are hit by them. And if your equipment is left all over the ground, it cause be injuries to the players and costly to repair equipment if run over.

7. Don’t use a flash. It will distract the players, and you could cause someone to lose focus on their game. You don't want to mess up a play. Along with this, be respectful of others around you and always obey the rules (don’t get on the field during the game), the refs, coaches, and staff.
.jpg)
8. Know the formula for great sports photography:
· Focus: Your photo needs to have sharp focus, not blurry.
· Face: Can you see the facial expression on the athlete; can you see their eyes?
· Action: Capture the action or emotion of what’s taking place.
· Equipment: The athlete has the ball or is interacting with it.

9. Review your images at the end of the game. Did you hit all the of the formulas? What could you do better? Go through, weed out the out of focus, poor exposure, no action shots. Then pick your favorites and look for patterns on what makes them interesting to you.
10: Keep the sun at your back. This way you will have the best light on the athletes and will be able to use a fast shutter speed and low ISO. You will want to do post-production to make your photos pop, but if you don’t have a good base exposure, you’re probably not going to be able to save it.
BONUS TIP: If you don’t have a fast lens or your camera doesn’t have the newest in autofocus features, think about renting for the game. This is also a great way to test new gear that you are interested in buying. Try it before you buy it. Go to schillers.com/rental-equipment to see our list of rental equipment and as always, ask our friendly staff for advice on gear or how to get the best images.
The best photos are the photos that tell a story. Look for interactions between players or with the ball. Even moments when the coach is giving a pep talk or a player celebrating or consoling a team member. These all tell stories and will make your photos more interesting. This takes practice and pushing yourself to do better each time. Most important, have fun and share with the athletes.
